Applying Carbon Fiber
Carbon fiber is a popular material in modern sports cars. The look of carbon fiber is duplicated in model cars with decals. Below is a tutorial showing how to apply carbon fiber template from scalemotorsport.com (Kit #24186 for the Tamiya Porsche 911 GT1 plastic model kit). A big thank you to reader Tom for providing these instructions!
The decals will adhear much better with a semi-gloss surface.

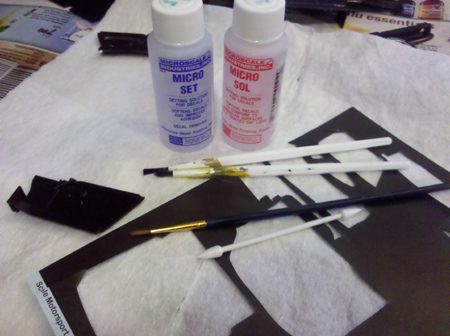
You will need much of the same things as with applying normal decals- Microscale Micro Set and Sol, two (2) old paintbrushes to apply the setting solutions to the parts and a clean brush to clean the setting solution off.

This kit comes with two (2) sheets of decals, and on the back are patterns with numbers that correspond with the part on the Tamiya kit, that will be cut out to fit the pieces.

Just as with a normal decal, each carbon fiber decal has to be placed in water for ten seconds.

Place on wet paper towel - this is also the same as a normal decal.

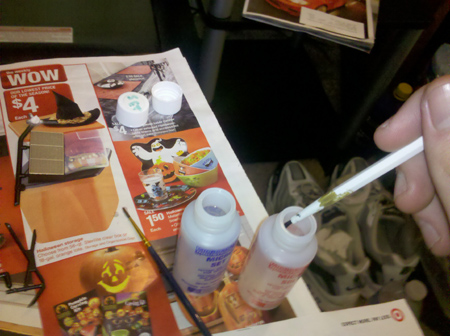
Use one of the old paint brushes to apply the Micro Set on the part where the decal will be placed. You can use water, but the Micro Set really helps the decal to stick much more.

Now don't be shy when it comes to putting the Micro Set on the part, the more there is the more the decal will deform to the surface later.

Now carefully position the decal onto the part. I say carefully because these decals are extremely thin and will tear very easily. Once the decal is in place put another hefty amount of Micro Set on the decal itself and let that sit for about 2 minutes.

After the Micro Set has been on the surface of the decal for the 2 minutes take a clean paint brush and dip it in water and brush the water over the decal to remove the excess setting solution.

As you are brushing the excess setting solution off the decal start to smooth out the decal surface. Don't try to get it perfect right now, that is what the Micro Sol is for.

Now it's time to use Micro Sol, using another old paintbrush apply the Micro Sol liberally over the decal surface and leave it alone.

You will notice the decal wrinkling up and looking like it is ruined, do not worry, that is the Micro Sol doing its job by softening the decal up dramatically allowing it to fall into the recess of the part.

Here is an example of a part that has many recesses and raised sections that without the setting solutions would be obscured and not look perfect.

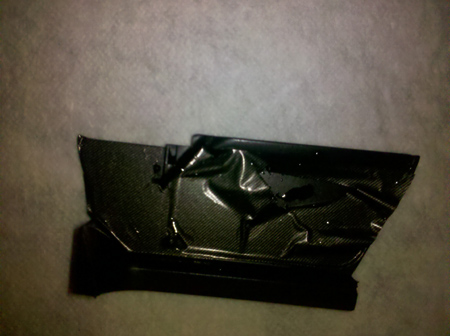
This is that same decal piece after the Micro Sol has been applied, notice how the decal is starting to show the details of the molded part.

This is the completed door about 3 minutes after applying the final pieces to this door. It looks good, but with a little time it will look like "real" carbon fiber.

This image shows that same door after an hour of drying, there are still some minor bubbles, but they will come out over the next couple of days.

The cockpit bulkhead, front diffuser, body skid pan, front air dam, and intake plenum. These parts that have been finished for a few days. This time allowed the trapped solution under the decal to dissipate making the small raised areas on the decal go flat.


There you have it, enjoy your carbon fiber application!
Send us your comments below! Login with your Facebook, Twitter, Google or Yahoo account.
